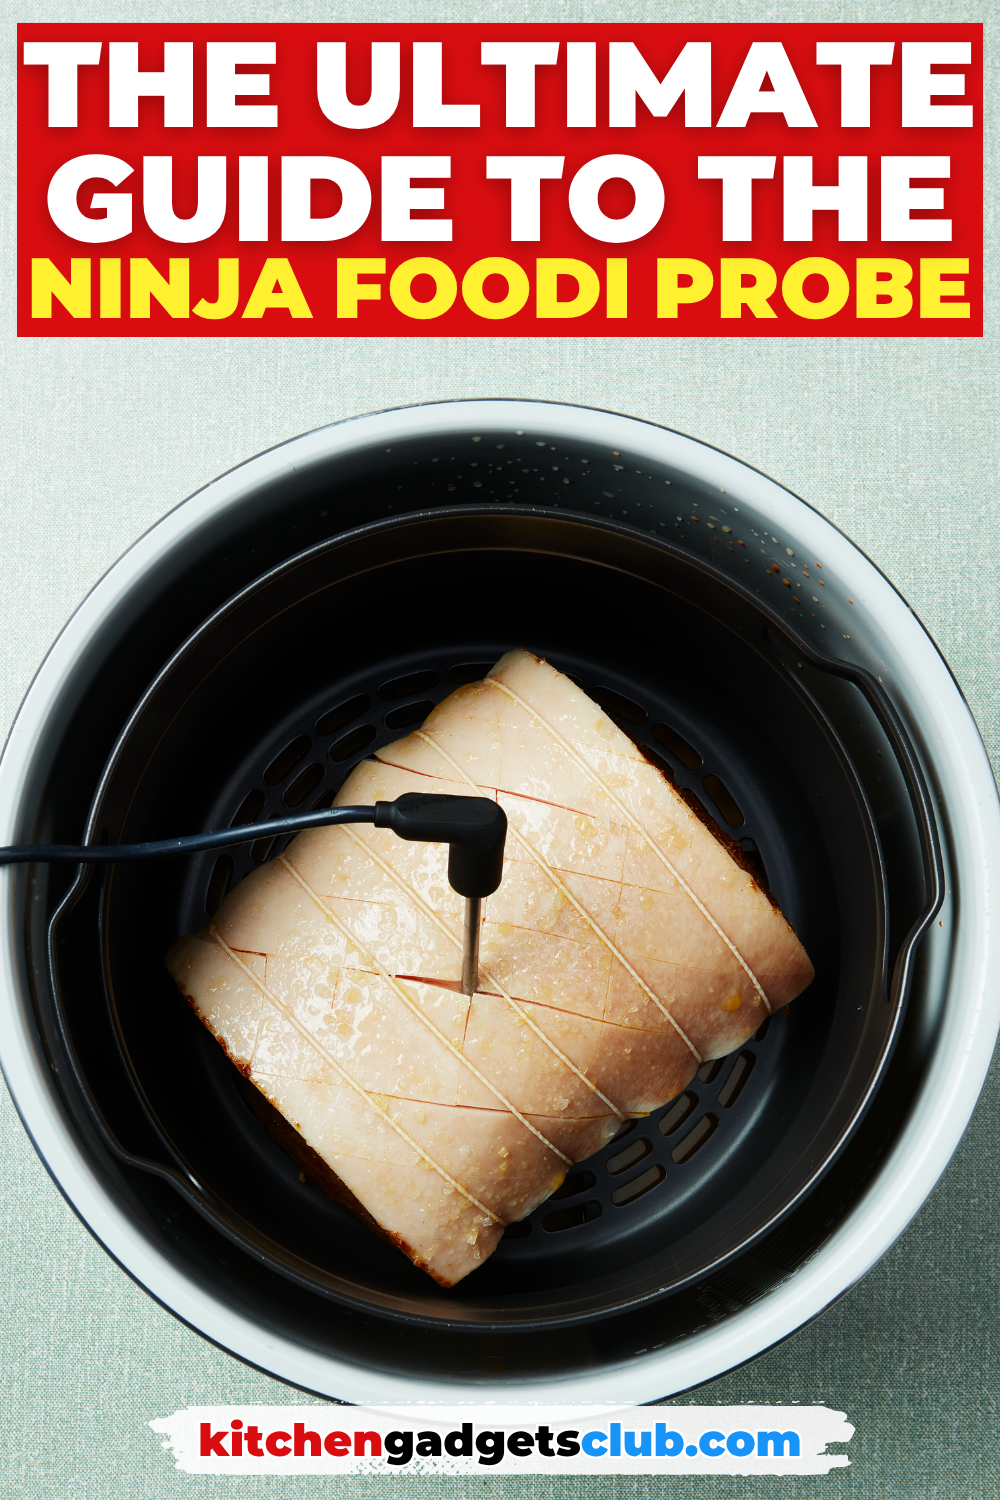
The Ultimate Guide To Using The Ninja Foodi Probe
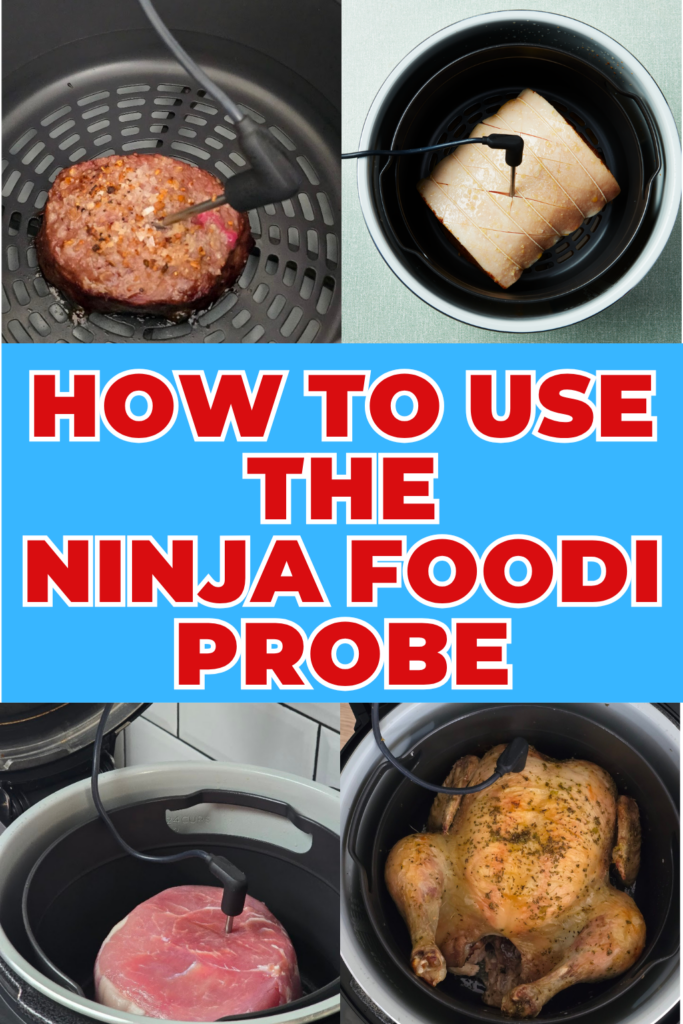
Forget setting the time and the temperature. With the Ninja Foodi 15 in 1 (also known as the Ninja Foodi Max) it has a built-in temperature probe. This is our ultimate guide in how to use the Ninja Foodi probe with real life foodie examples.
The Ninja Foodi Probe
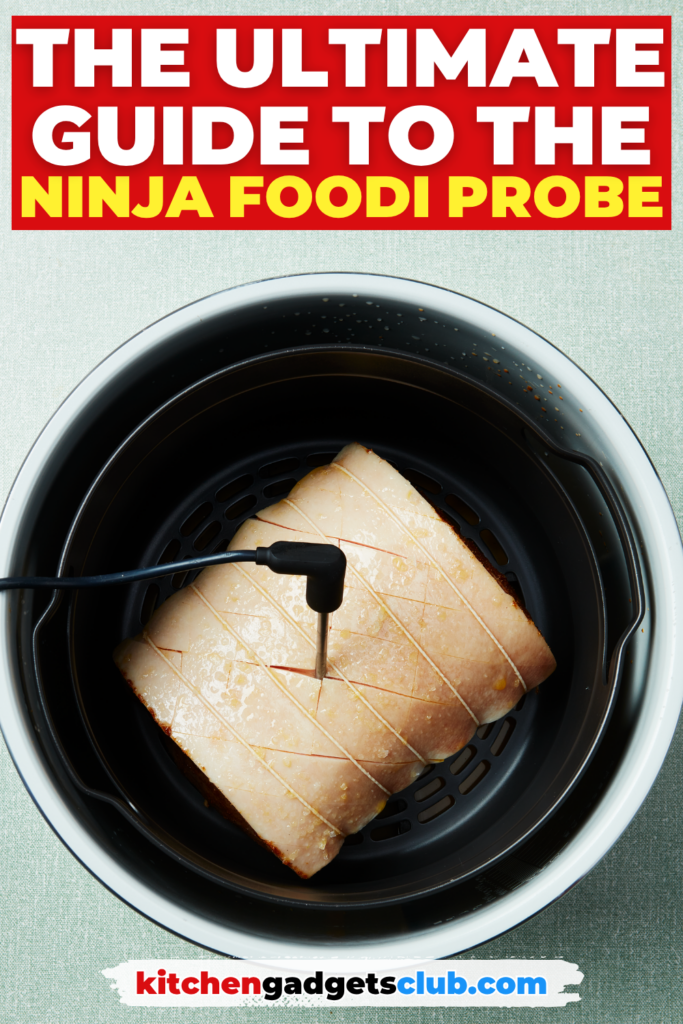
The biggest reason people upgrade to the Ninja Foodi 15 in 1 is because it has its own built in temperature probe. The idea that instead of having to guess the cooking time and temperature, that you can add the probe, set your desired temperature and it will stop when it reaches the correct temperature.
It’s a win-win and the best feature of the Ninja Foodi 15in1. And at the time of writing this it’s the only ninja foodi to include such a feature.
You have a plug inside the lid of your Ninja Foodi, and a probe wire built into the side of your machine. Then when you get used to it, you can quickly add the probe in when cooking.
But the first time you use the Ninja Foodi probe it can feel daunting and I am sure you have a zillion questions so that is why we wanted to share with you today all about how to use the ninja foodi probe and answer some of your questions along the way.
Ninja 15 In 1 Probe – The Video
Are you more of a visual video learner? We have also created a video over on our YouTube channel. It walks you through using the probe for the first time, how to put it away and get it out as well as a sample recipe.
Does The Ninja Come With A Probe?
Yes, it does. But note only the Ninja Foodi 15 in 1 comes with a probe (Amazon Do not sell the 15 in 1 anymore). The cheaper Ninja Foodi models don’t come with a built-in probe. We recommend you have a read of our Ninja Foodi functions guide as it runs through what functions you get with the different models including the Ninja Speedi.
What Is The Ninja Foodi Probe?
The Ninja Foodi Probe is a built-in temperature thermometer. It will tell you the internal temperature as the food is cooking therefore you can cook your food to your preferred doneness. This works particularly well with roasts such as wanting to cook roast lamb to a medium, or cooking a steak to a medium rare, or just checking that chicken is fully cooked and not over cooking it.
This is very helpful especially if you are new to this type of cooking and sick of overcooking your food.
Remember the Ninja Foodi probe is perfect for each time you want to cook food using the probe, though you don’t have to use it with every single thing you cook.
What Foods Are Good Using The Ninja Foodi Probe?
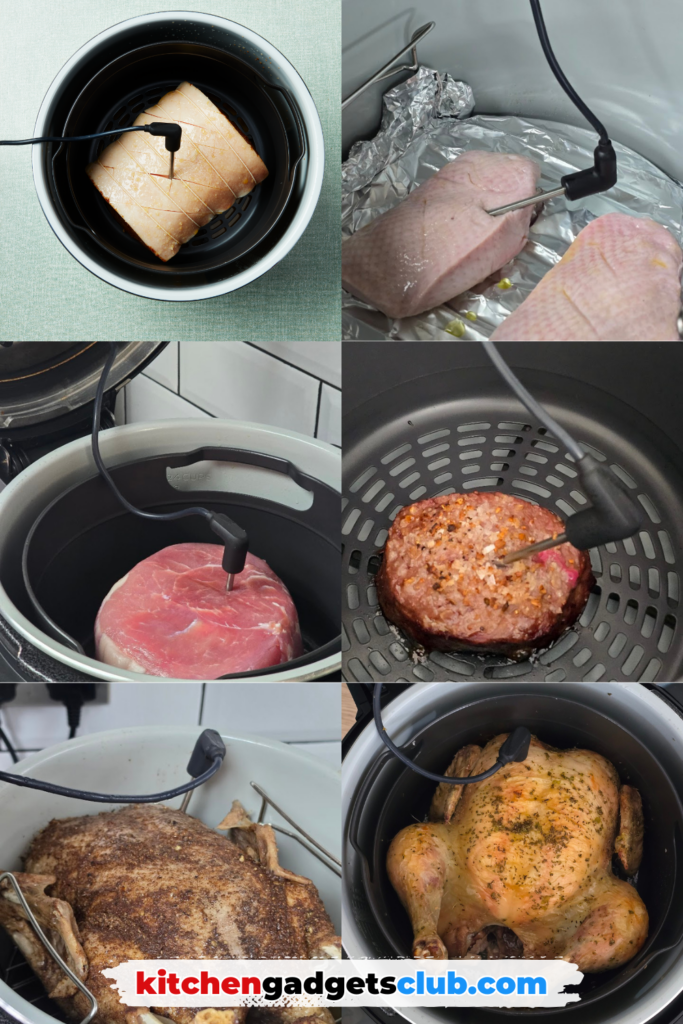
We were soon there, like kids in a sweet shop with a bucket list of foods to cook with the probe. What we found though that it worked more for some foods than others. It is great for meat, longer cooking foods like jacket potatoes (we will be showing you them shortly) and even for a cake.
Here are our favourite recipes using the Ninja Probe:
- Pressure Cook & Air Fry Roast Duck
- Ninja Foodi Steak
- Ninja Foodi Duck Breast
- Ninja Foodi Gammon
- Ninja Foodi Whole Chicken
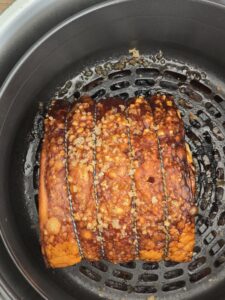
- Ninja Foodi Pork With Crackling
The Complete Multicooker Cookbook Includes The Probe

In our new ninja foodi book we have step by step photographs using the probe for pork with crackling. We also show you how to rinse and repeat with your Christmas turkey crown, a whole chicken and many others. So do grab a copy!
How To Use The Probe On The Ninja Foodi
Let’s demonstrate how to use the ninja foodi 15 in 1 probe with a jacket potato. A jacket potato or a baked potato if you are in the United States, is one of those simple cheap ingredients that you can test and learn the probe from. I am also choosing this, because you don’t want to do a demo with an expensive piece of meat.
For the perfect jacket potato, the dream internal temperature would be 85c/185f. You can choose between bake (slightly less of a crisp on the skin), air fry or go with a steam bake, steam roast, or steam air fry option.
I have kept it simple, especially for if you are new to the 15 in 1 with just using the air fryer setting.
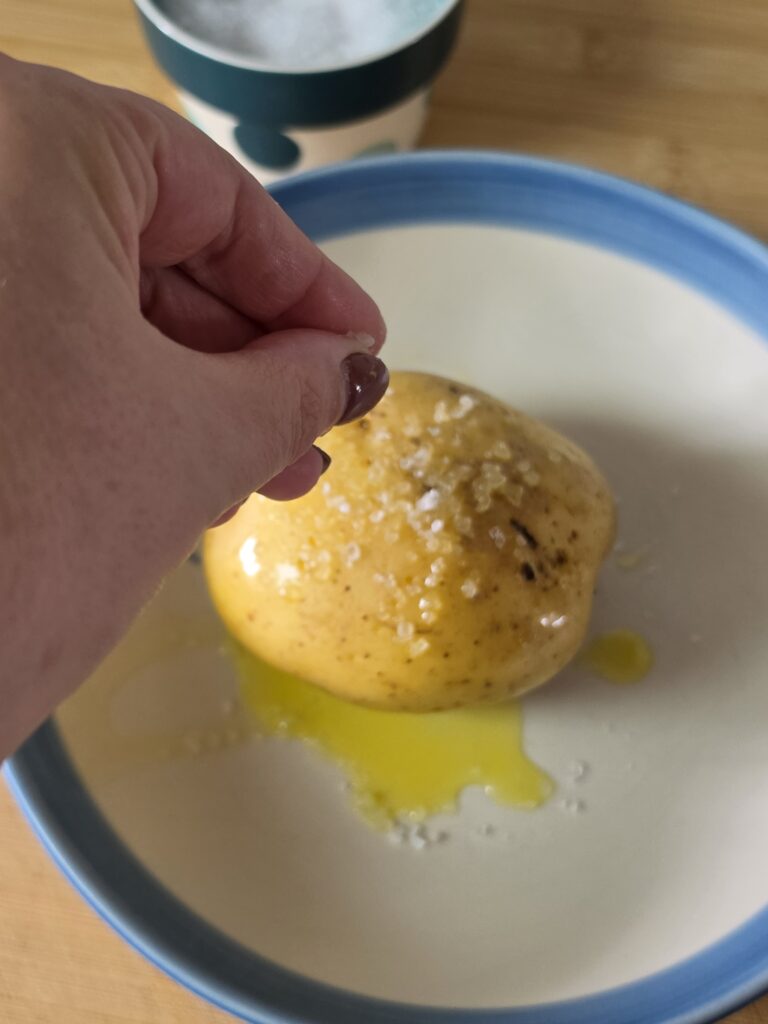
Start by preparing your jacket potato for air frying. Place the potato into a bowl and drizzle with a little extra virgin olive oil and season well with salt and pepper.
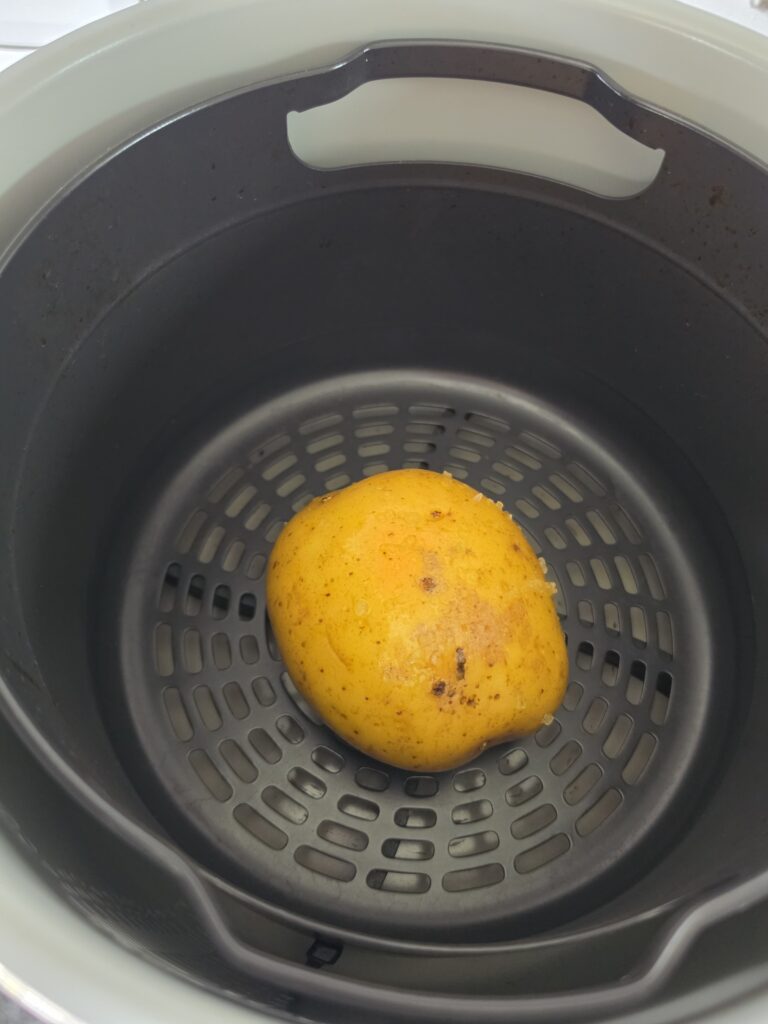
Then add your baking potato to your air fryer basket and place the air fryer basket inside the cooking pot.
You are then ready to get your probe out. Push into the side of your Ninja Foodi and grab out your built-in probe.
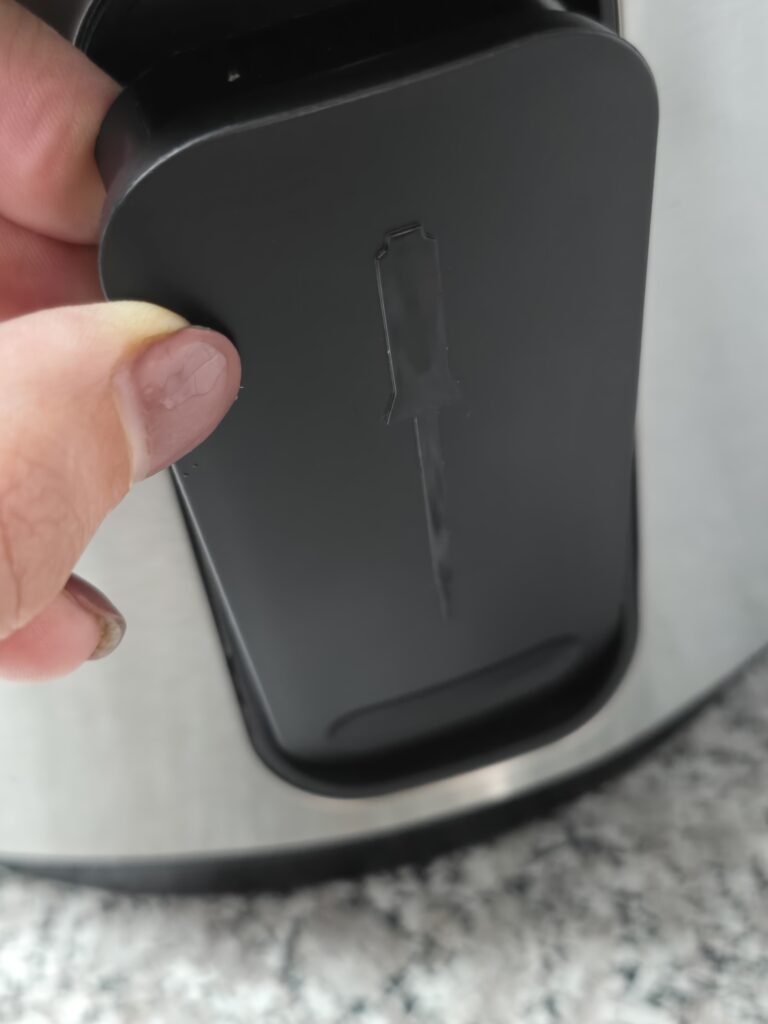
You will then have a probe attached and its folded around the little unit.
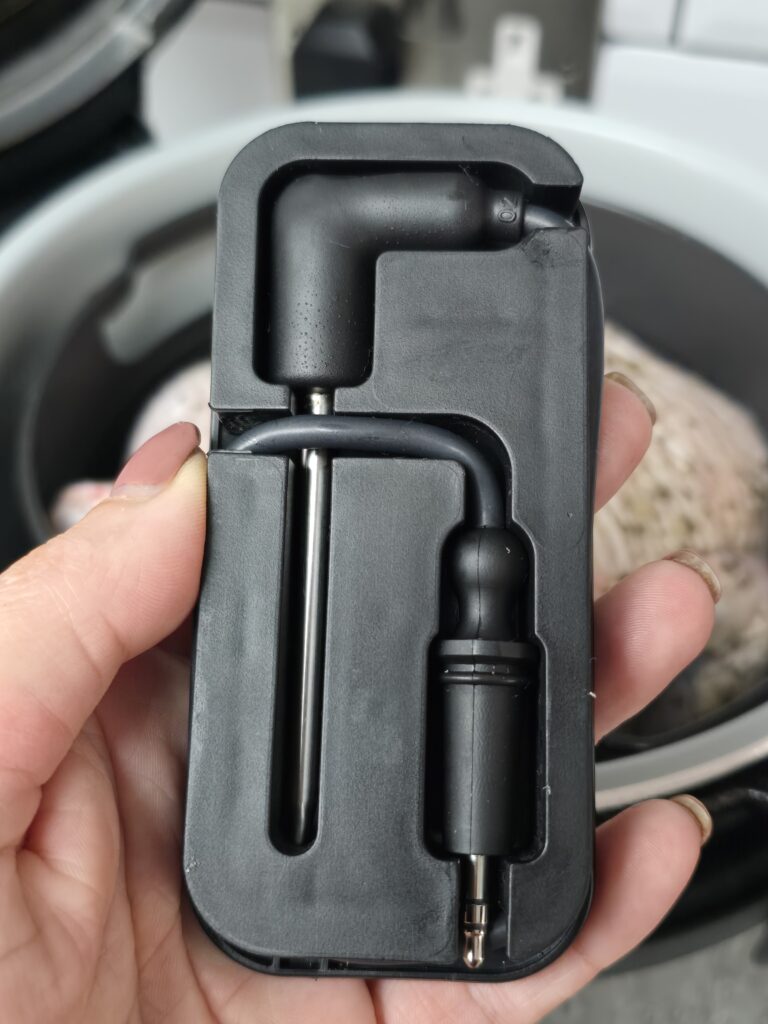
You can then open it up to create a full probe. Then one end goes into your Ninja Foodi lid and the other into the food. Next you need to unscrew the plug from the lid:
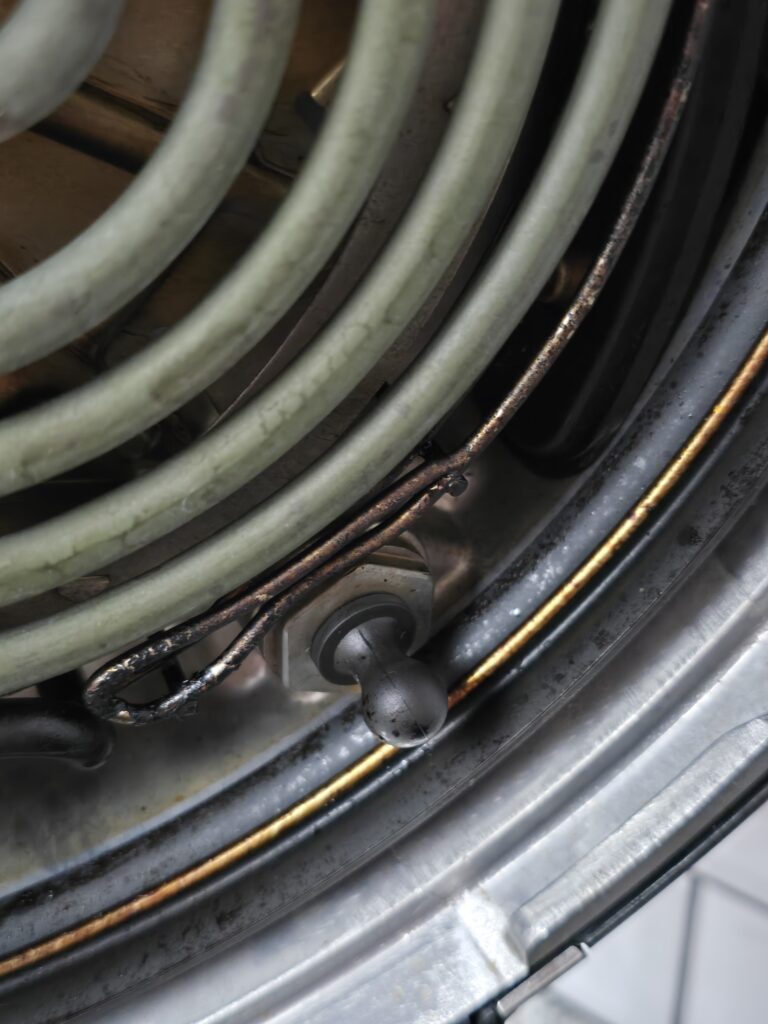
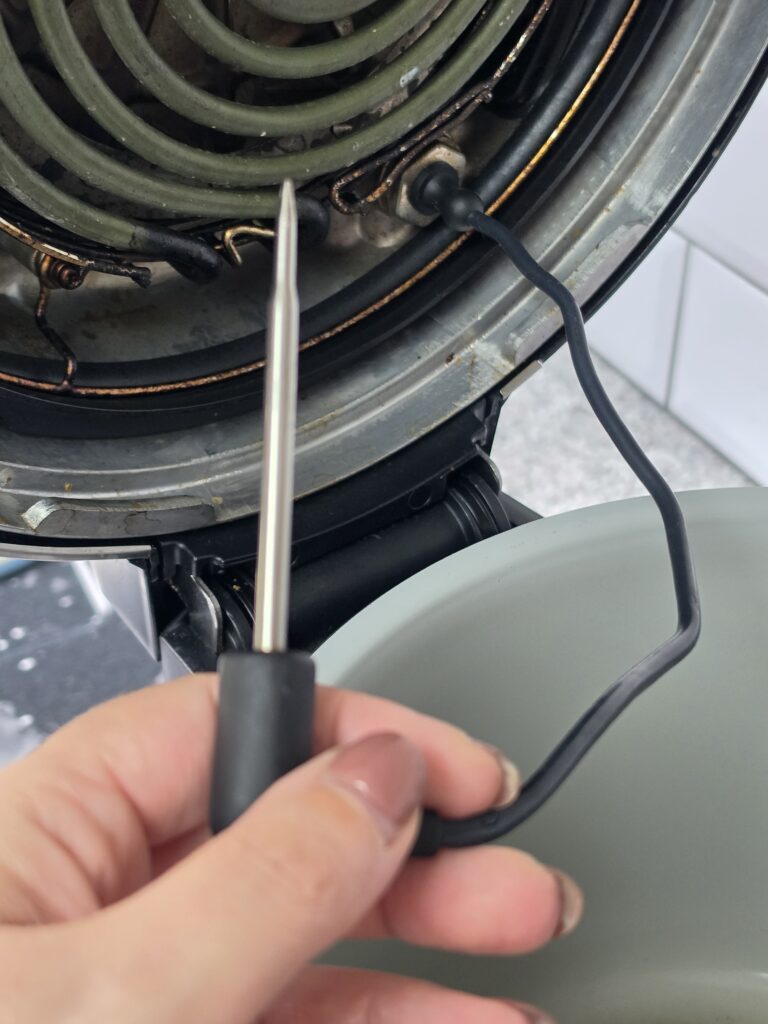
Then most importantly, put your little plug somewhere safe. We have shelving above where our Ninja Foodi sits on our worktop, so we usually put it above there.
Then unwrap your thermometer and place one end into where the plug was in the lid and then the other end is ready to go into your food.
Next, poke your probe right into the jacket potato, getting as far as you can into the middle section.
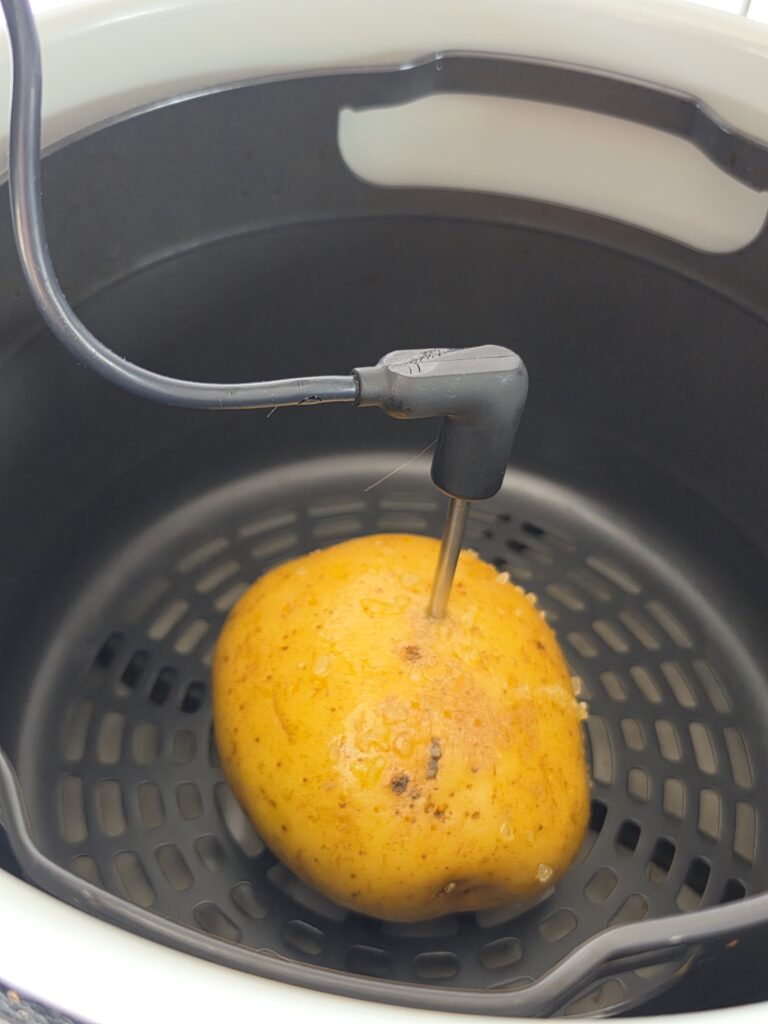
Then carefully place the lid down on your Ninja Foodi and you are all ready to start cooking.
You will see preset/manual to the right as this is a particular temperature, then press MANUAL then AIR FRY and set it to 85c/185f as your target temperature.
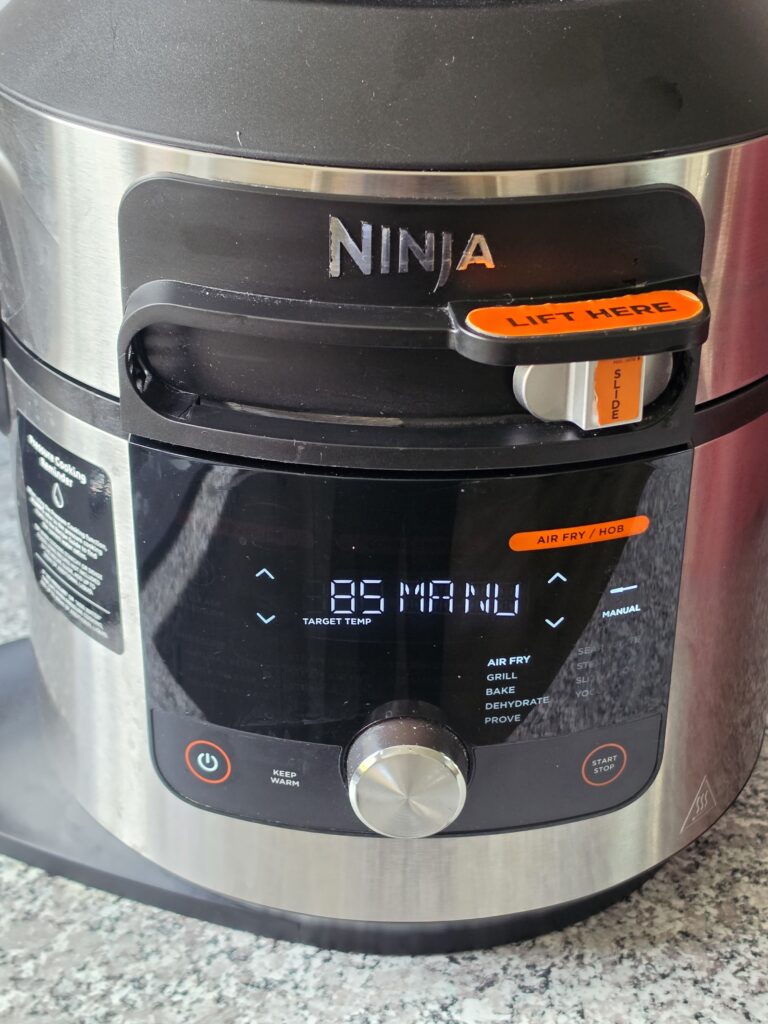
It will then start on its current temperature. This will be pretty low as it will just reflect a room temperature potato. Then as it cooks it will climb and climb and you can keep having a look as it cooks (if you want to!) then when it’s at temperature it will change to END.
You can then lift up the lid to your perfectly cooked jacket potato.
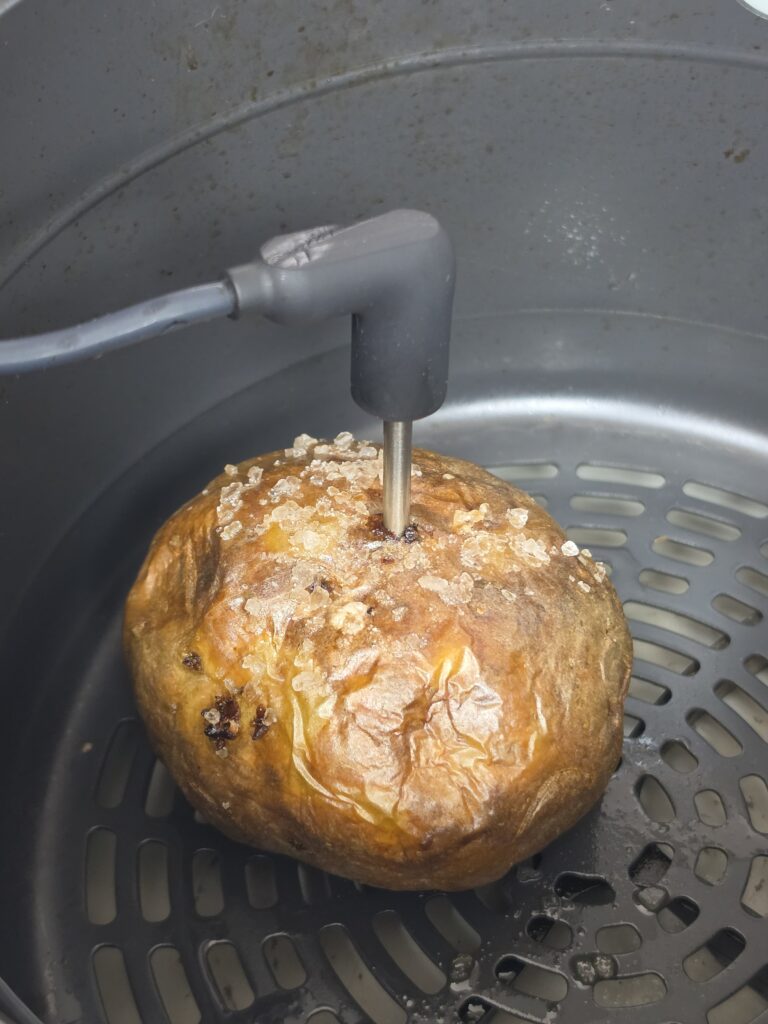
Remove the probe from the jacket potato, clean it and put it away, then press it back into the side of your foodi. Also add the little plug back into the lid. It’s then ready for next time. You can then slice into and serve with butter your jacket potato.
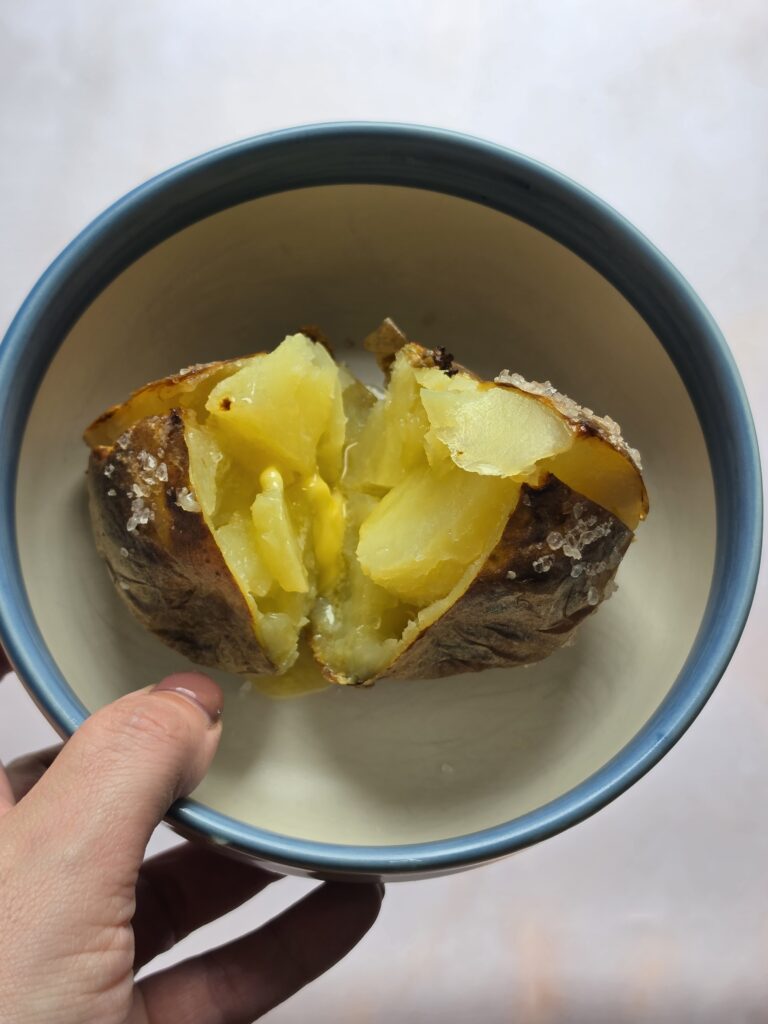
It is as simple as that how to use the ninja foodi probe. You can then rinse and repeat and can we suggest a ninja foodi whole chicken with the probe next as that is REALLY GOOD!
Important Notes On The Probe
Wipe Clean – after each use don’t forget to wipe it clean.
Special Place – we also like to have a special place we keep the plug when the probe is on, because its small and if you lose it they are expensive to replace.
Practice Makes Perfect – When you first have to put the probe back together and wind it around its block its hard. Kind of like doing a jigsaw puzzle for the first time. But the more you do it the more you will get used to it. Watch our video here and you can put it in slow motion as we wind it back up.
Where To Add The Probe – It’s important that you add it to the thickest part of the food you are cooking. Avoid adding it to the bone or a fatty bit and go as central as you can. Remember the hottest area is around the edge and you don’t want it beeping that it’s done before it really is.
Thanks for reading and we have more resources for you below.

Your Next Step: Get Your Copy Of The Complete Multicooker Cookbook
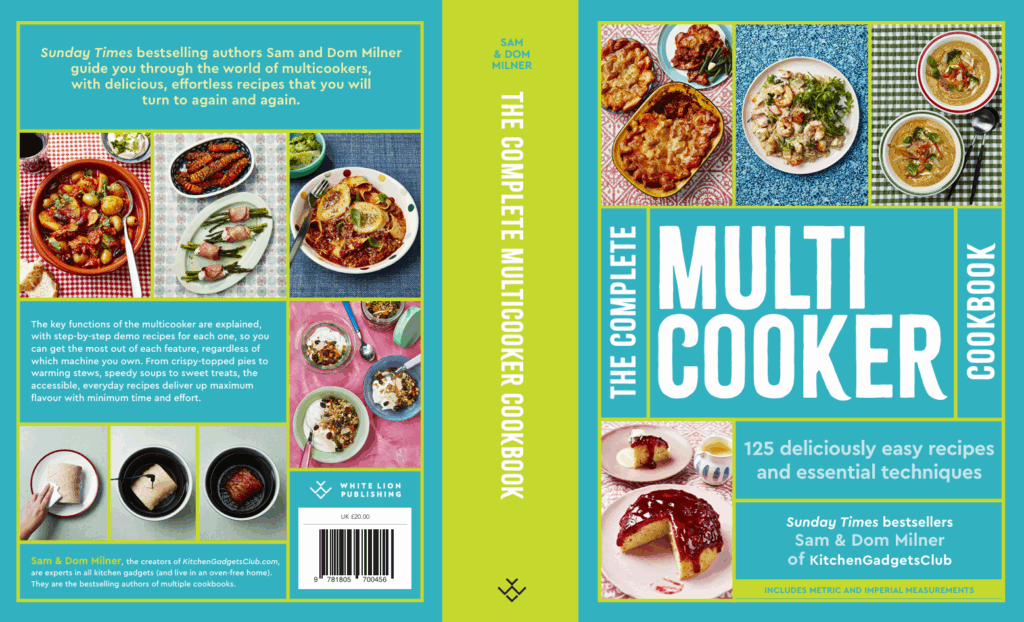
What people say about our cookbooks is how easy they are for the beginner and how we explain in great detail. The fact that we always have a Plan B in mind and hack to go with a recipe. The Independent says our air fryer cookery book is the best for beginners.
Get The Complete Multicooker Cookbook Here.
Also grab our time and temp chart. It can sit on your fridge thanks to its magnetic strip and has the time and temps to a lot of multicooker foods. You will love the steam and the steam air fry sections the most (they are my favourite!)
Get The Complete Multicooker Cooking Guide.
Choose Your Dream Multicooker
We have mentioned a few of the different multicookers we recommend and here is them and some more so you can go shopping and choose the right one for you!
- The Instant Pot Duo (best for pressure cooking)
- The Instant Pot & Air Fryer (similar to the Ninja Foodi 9 in 1)
- The Ninja Foodi 9 in 1 (everything that the 11 in 1 does minus the steam air frying and steam bake)
- The Ninja Foodi 11 in 1 (best air fryer pressure cooker)
- The Ninja Foodi 15 in 1 Max (NOT for sale anymore)
- The Ninja Speedi (best multicooker and air fryer in one)
Don’t Miss A Thing!
Complete The Ninja Foodi Challenge: We did 30 days dedicated to the Ninja Foodi with a recipe each day. It’s a great way to learn the Ninja Foodi and then you can set yourself the goal of a new recipe each day. You can get the ebook here or follow it on YouTube here.
Join Kitchen Gadgets Club – We have a Ninja Speedi recipes category and also have many other gadgets too. As a Ninja Speedi owner you can enjoy our air fryer, slow cooker, steam air fry and more.
Follow Us On Socials – We would love to hear more about you. Follow us on Instagram, TikTok, Facebook, or join our Facebook Group.
The Weekly Newsletter – We have a weekly newsletter that shares more about kitchen gadget cookery and also features the latest recipes, gossip from us, what we are up to and much more.
Watch Our YouTube Videos – We have lots of YouTube videos including several for the Ninja Speedi. You can also subscribe to our channel and learn lots about kitchen gadgets.
Pin This Blog Post For Later